Time for a Voron Refresh? Rebuilding And Upgrading A 250mm Trident

Last updated: June 2025 | Reading time: 4 minutes
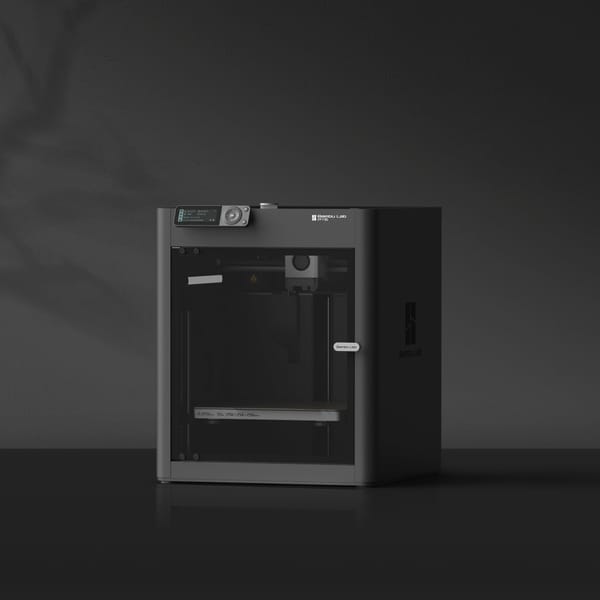
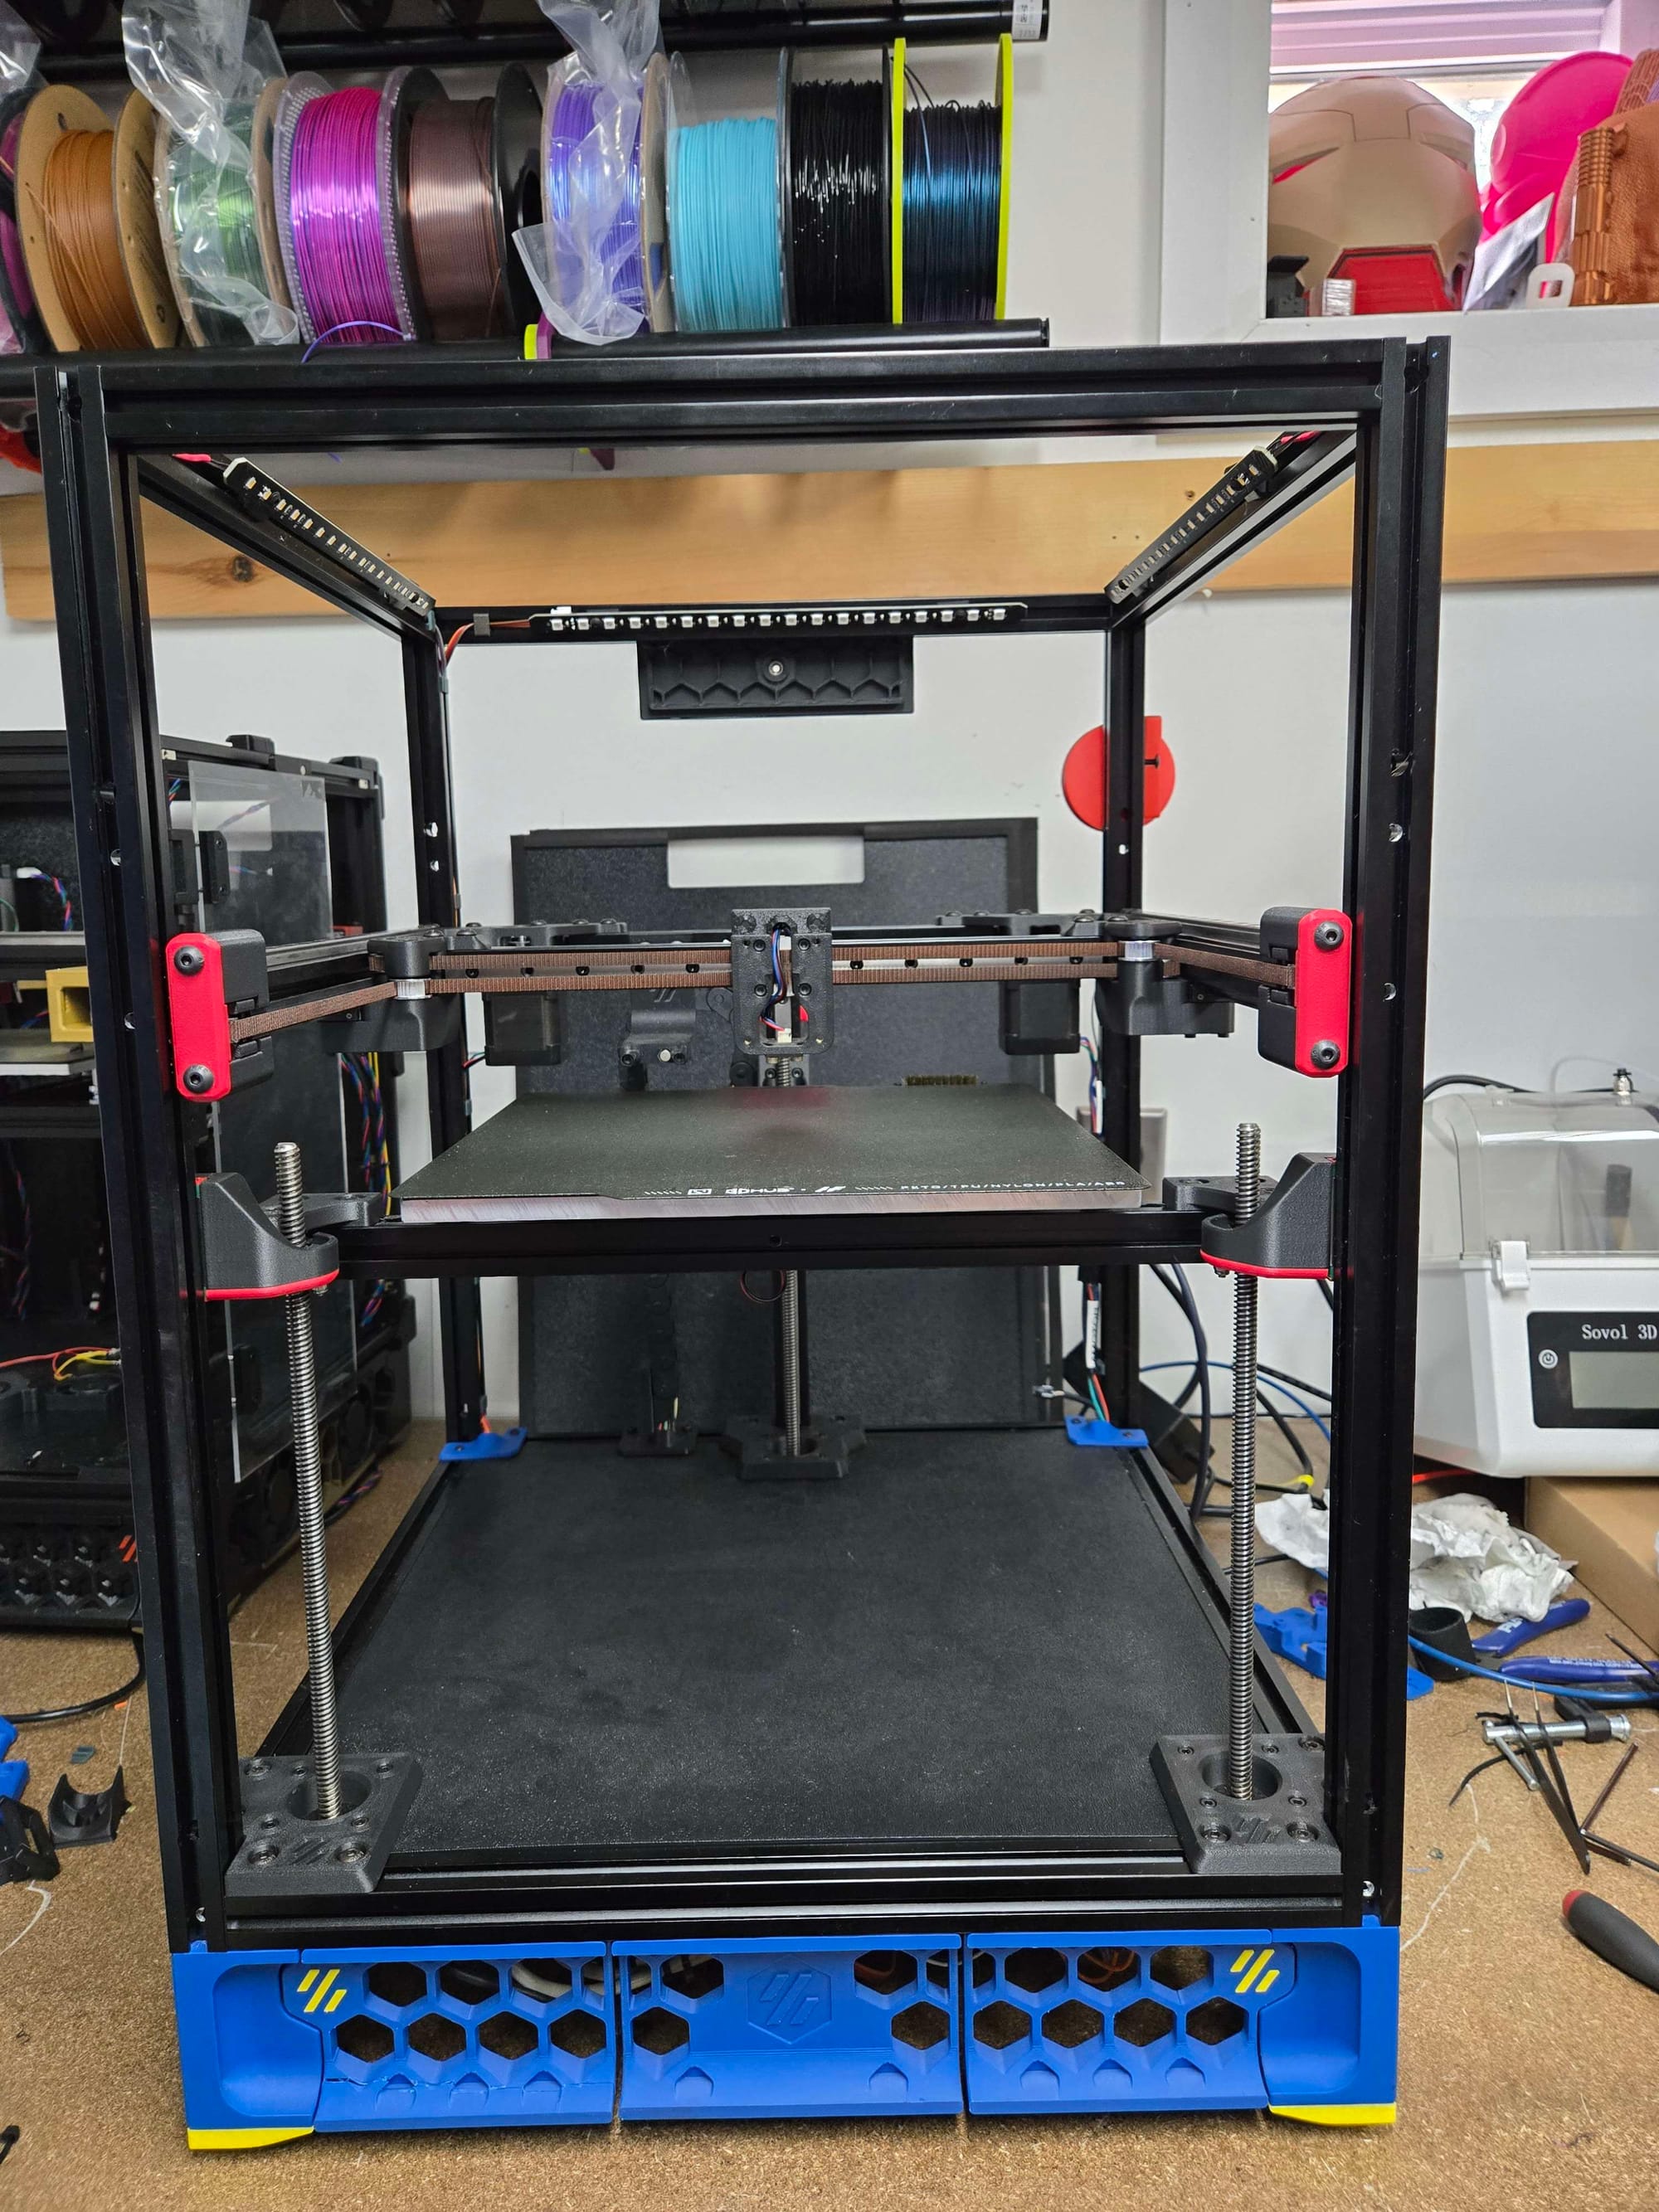
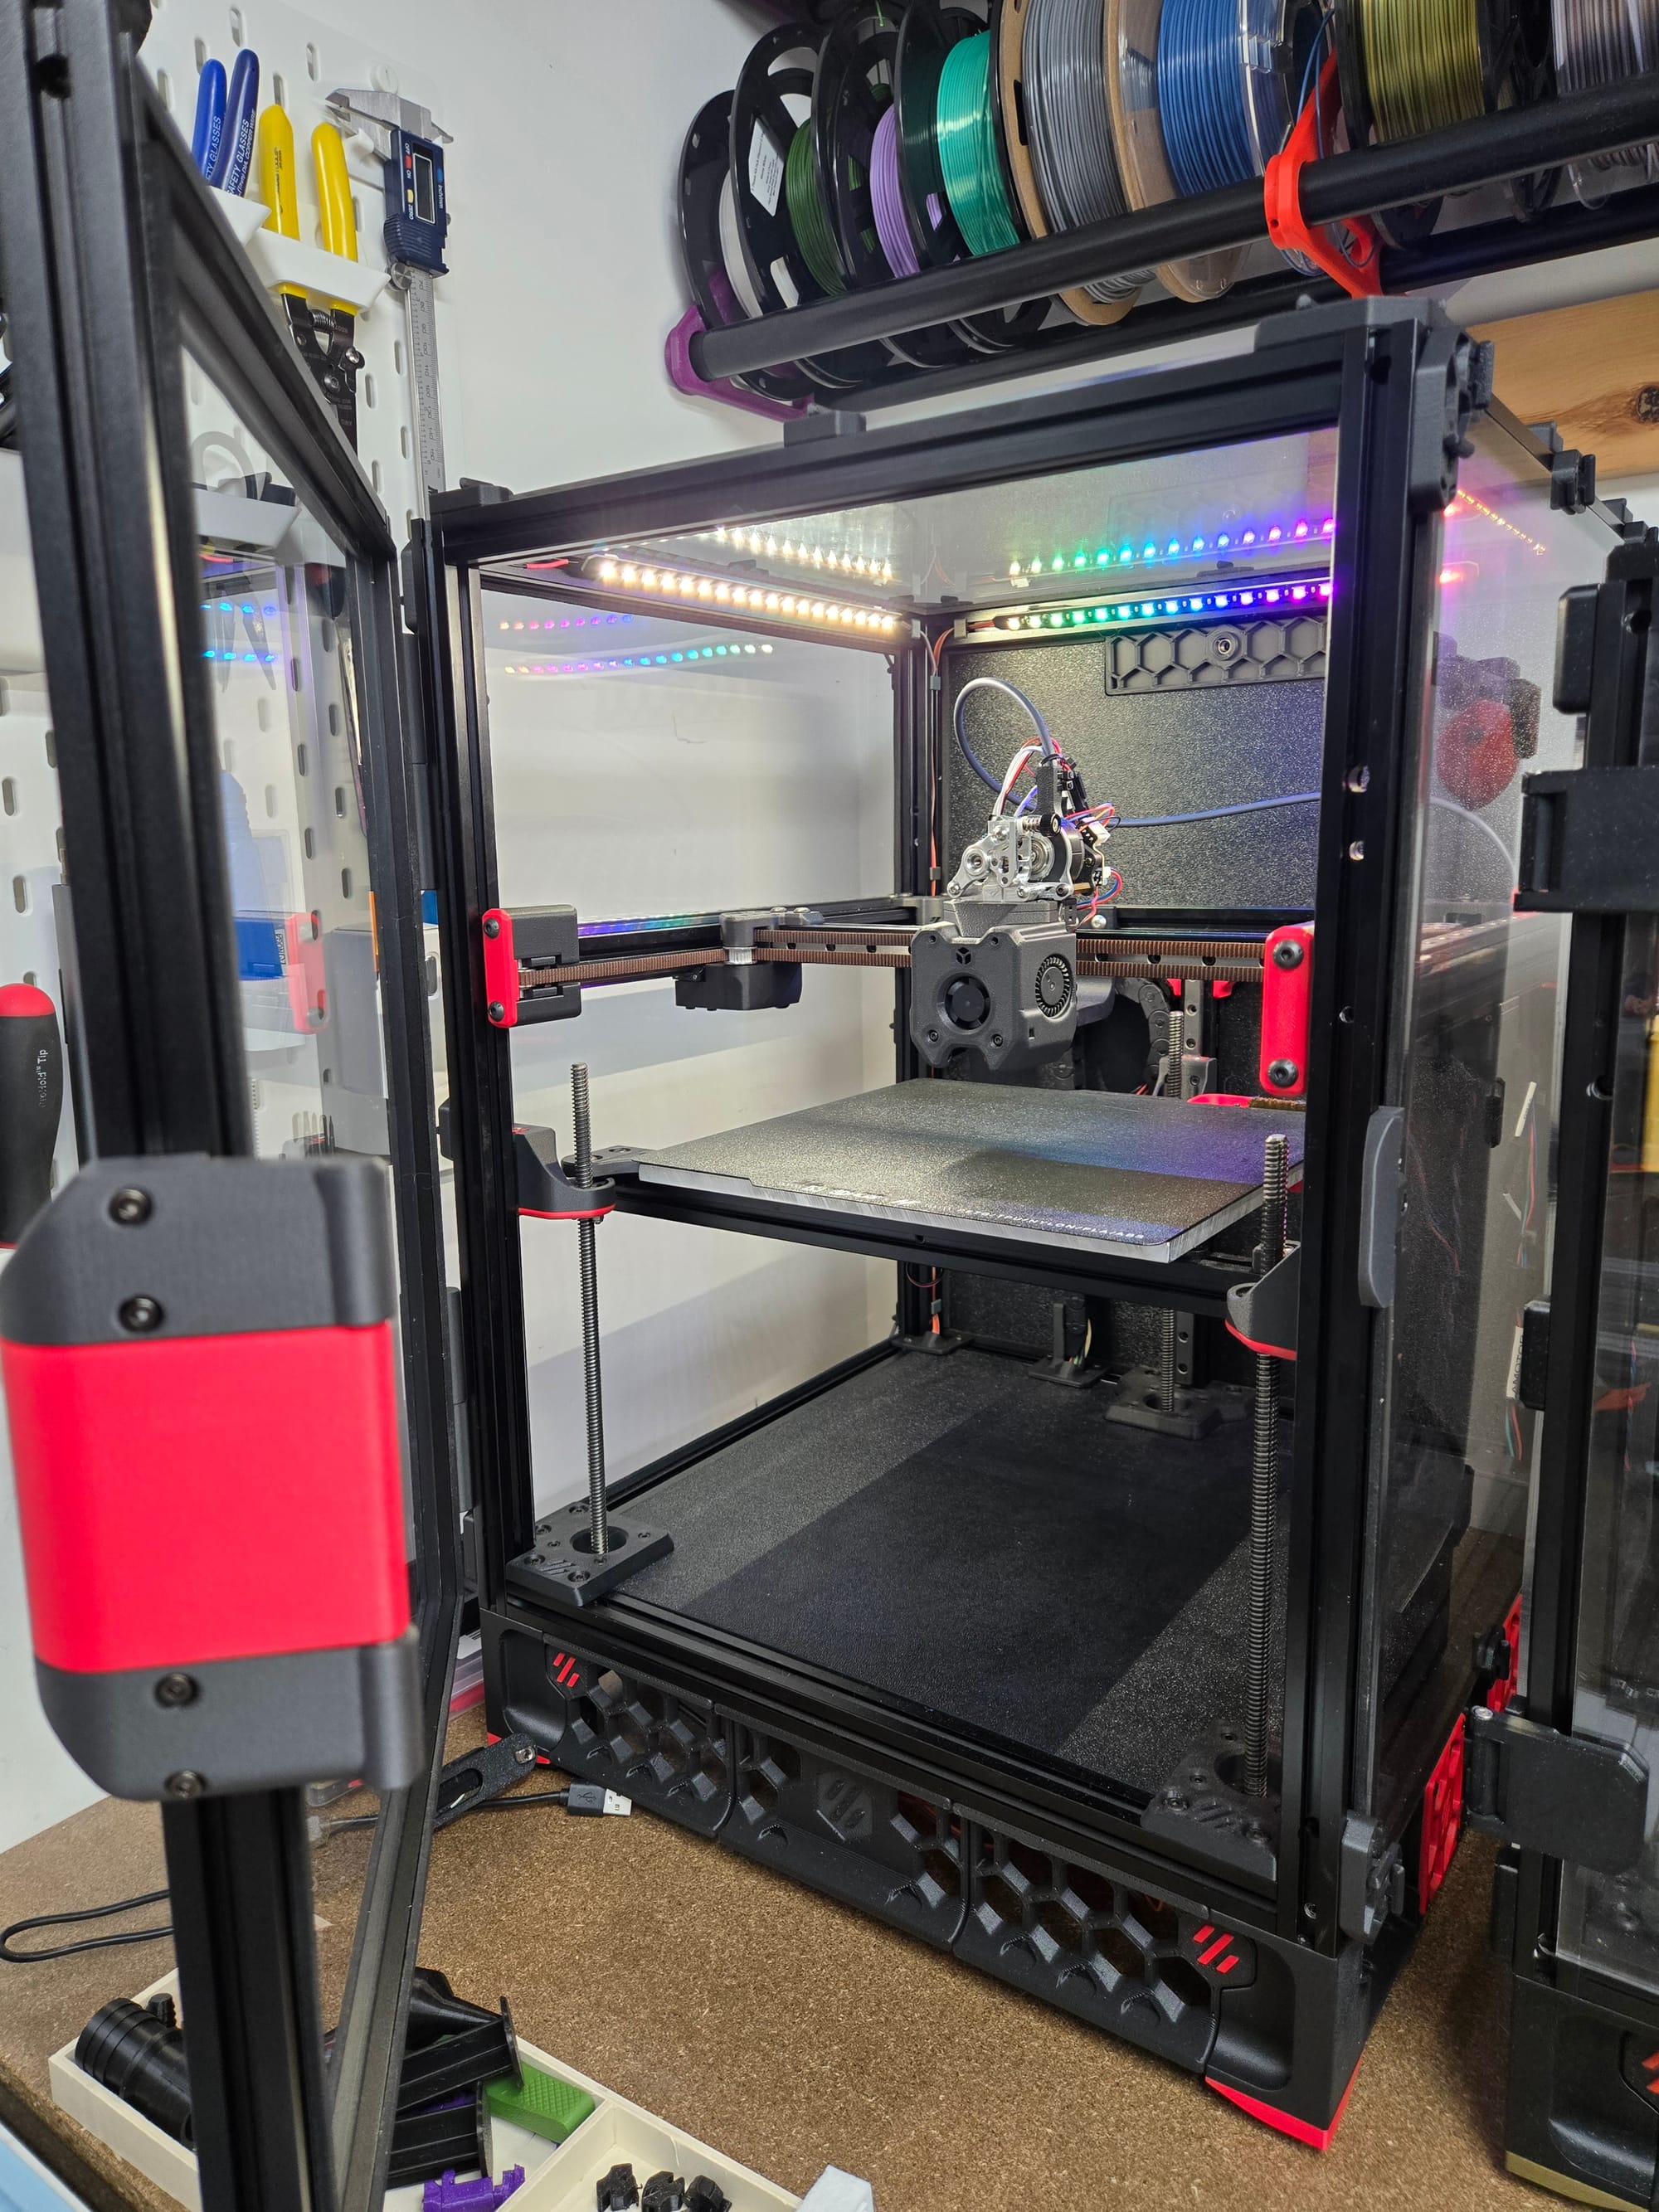
Remember those early COVID days when everyone was stuck at home building Voron printers? If you were one of the many who assembled a Voron Trident between 2020-2022, your printer might be showing its age. After a few years of hard use, the 250mm Trident was definitely ready for some TLC – and the results were more rewarding than I expected.

Why Your COVID-Era Voron Might Need Attention
If you built your Voron during the pandemic rush, you're not alone. Thousands of new and old makers took on the challenge during lockdowns. Here's what can happen after a few years:
Wear and Tear: Constant heating cycles, lots of printing, and mechanical stress take their toll on printed components as well as belts, bushings, and bearings.
Hardware Updates: The Voron community has refined designs and new easily accessible materials are available.
Software/Firmware Updates: If you haven't kept your firmware updates on track, they can fall behind over time.
My Rebuild Journey:
Rather than completely dismantling the Trident, I decided to tackle a rolling rebuild – replacing parts one section at a time while keeping the printer operational.
Material Choices
Black ASA-CF (Carbon Fiber) & Red ABS-GF (Glass Fiber): I chose these filaments for extra rigidity and heat resistance.
The One-at-a-Time Approach
Here's why I recommend the rolling rebuild method:
Keep Printing: Your printer can stay functional throughout the process. You can even print replacement parts on the same machine you're upgrading.
Learn as You Go: Rebuilding incrementally lets you understand each system better than a complete teardown.
Budget-Friendly: Spread the cost of upgrades over time rather than buying everything at once if you're on a tighter budget.
Risk Management: If something goes wrong, you're only dealing with one component, not an entire rebuild.
The Process That Worked For Me
Week 1: Motion System Components
I started with X/Y joints, front idlers, and A/B motor mounts – parts that see the most mechanical stress. The difference in rigidity was immediately noticeable.
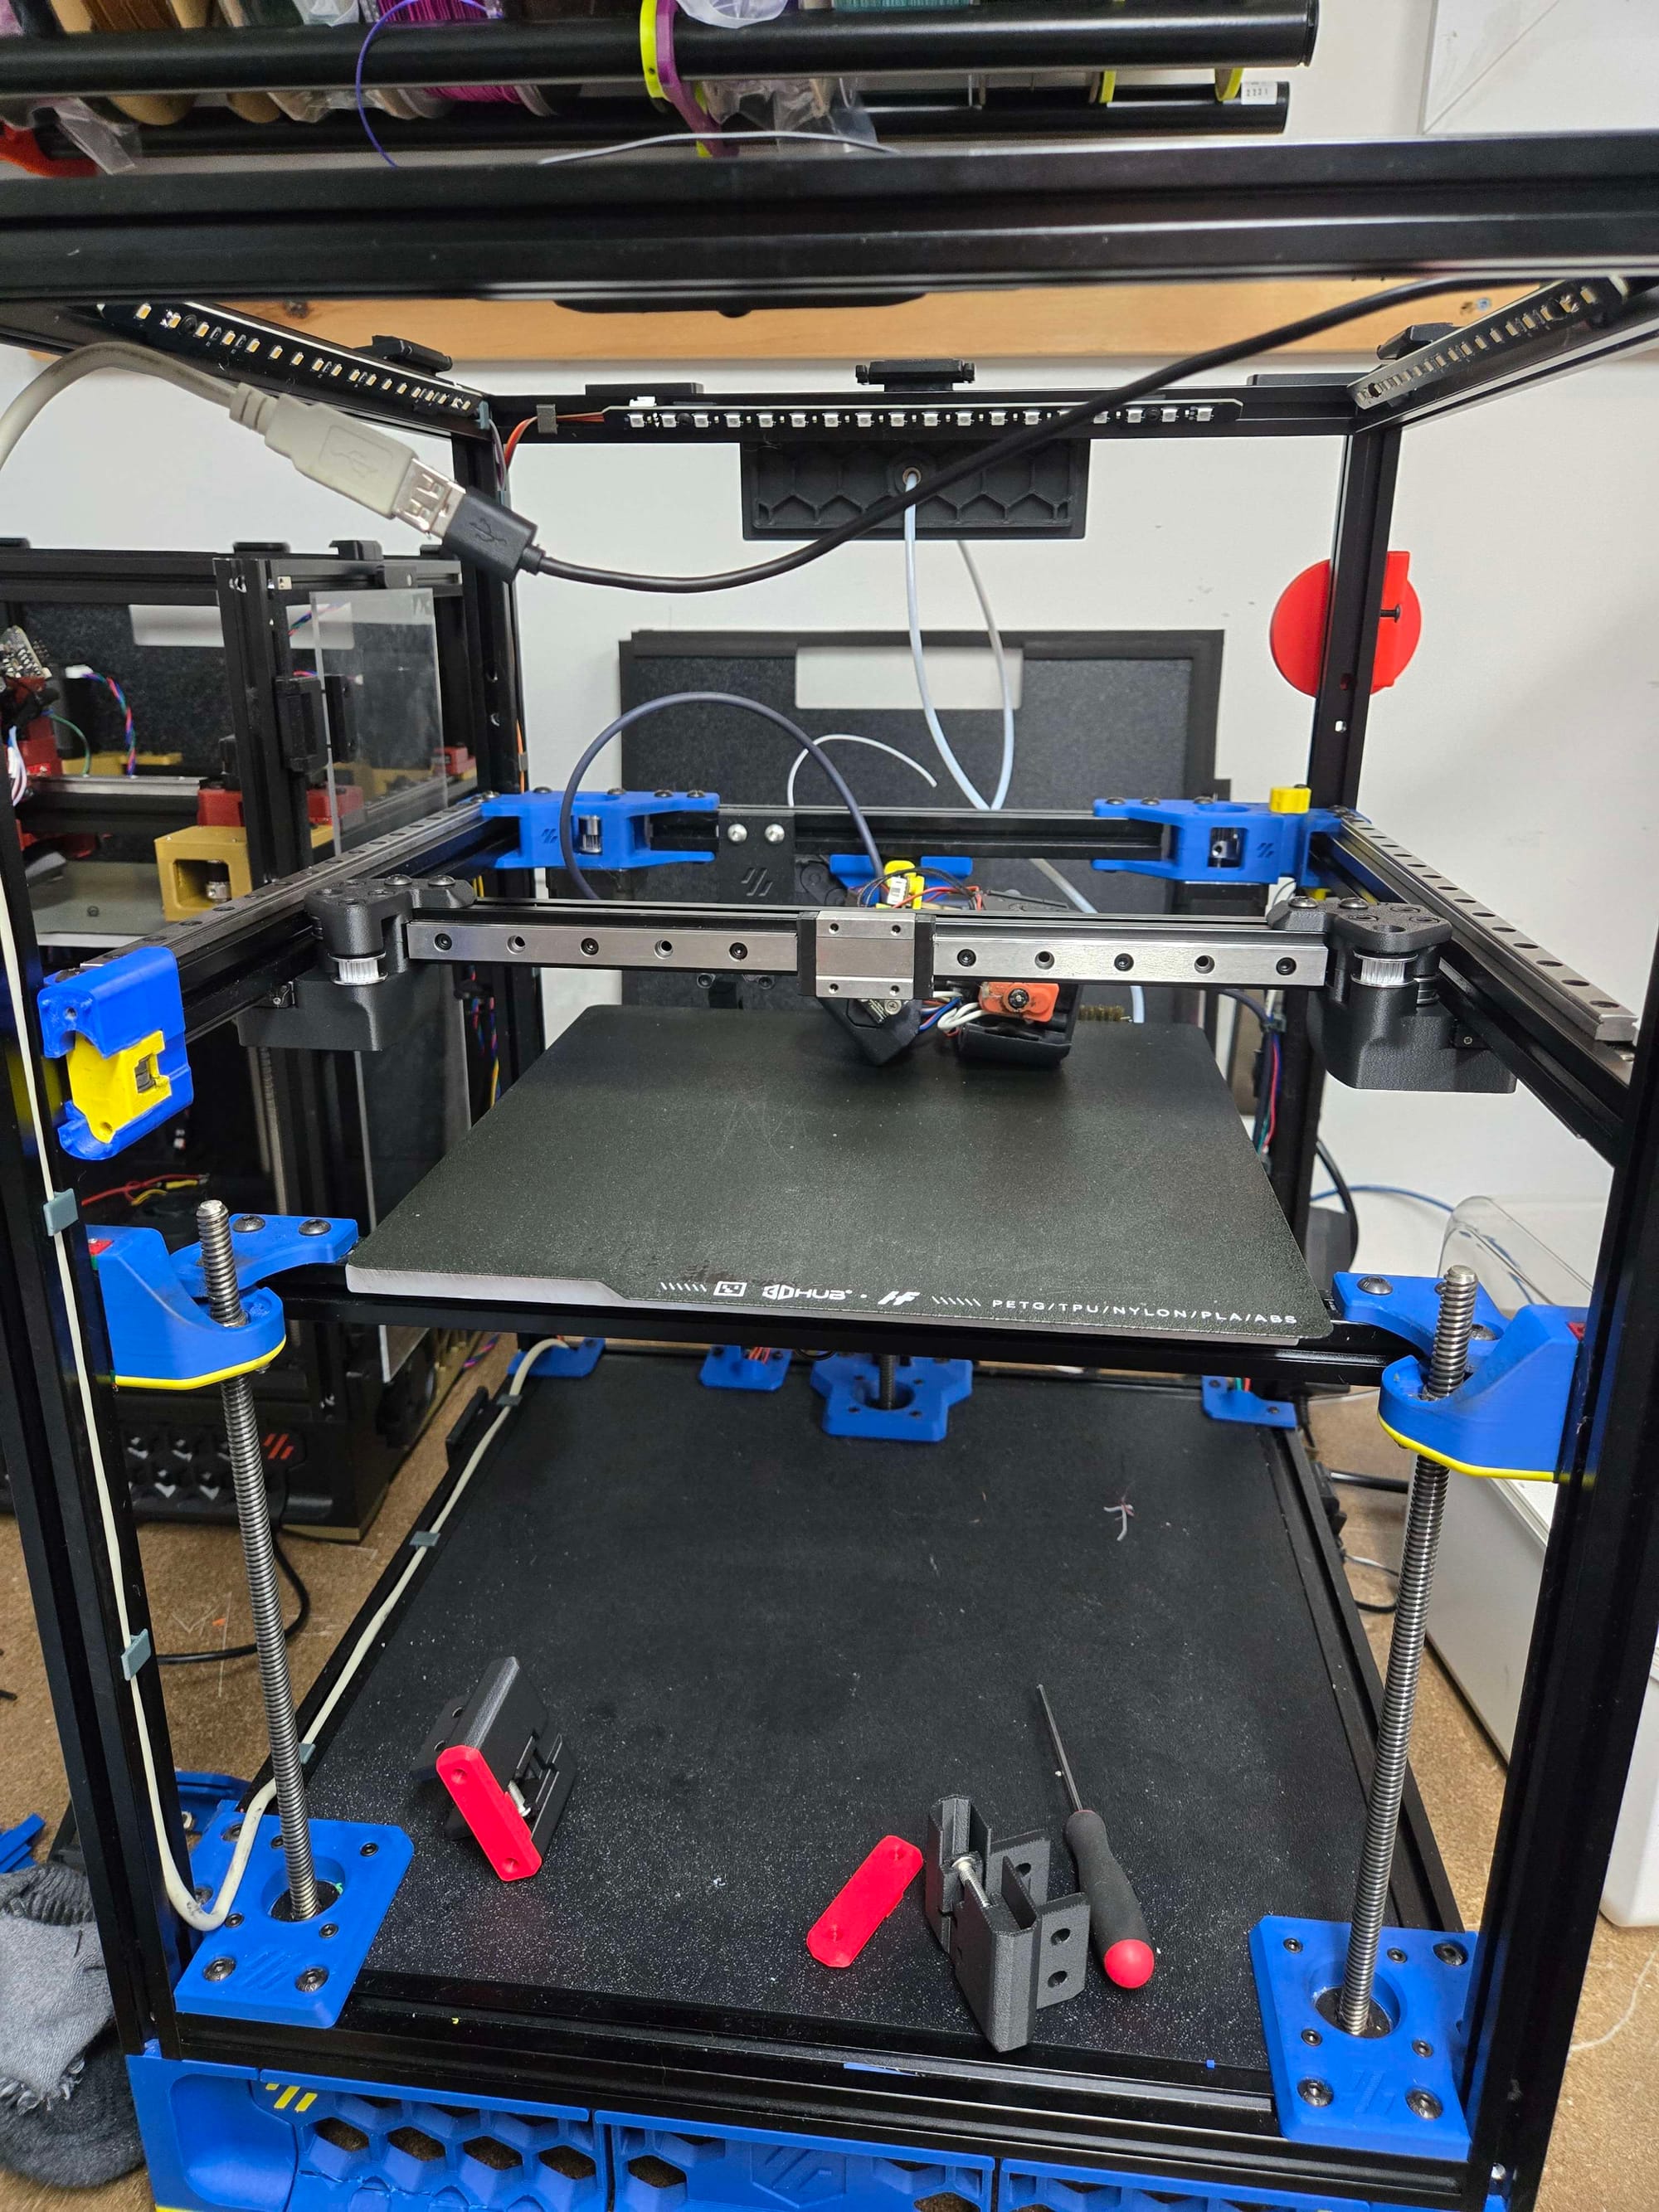
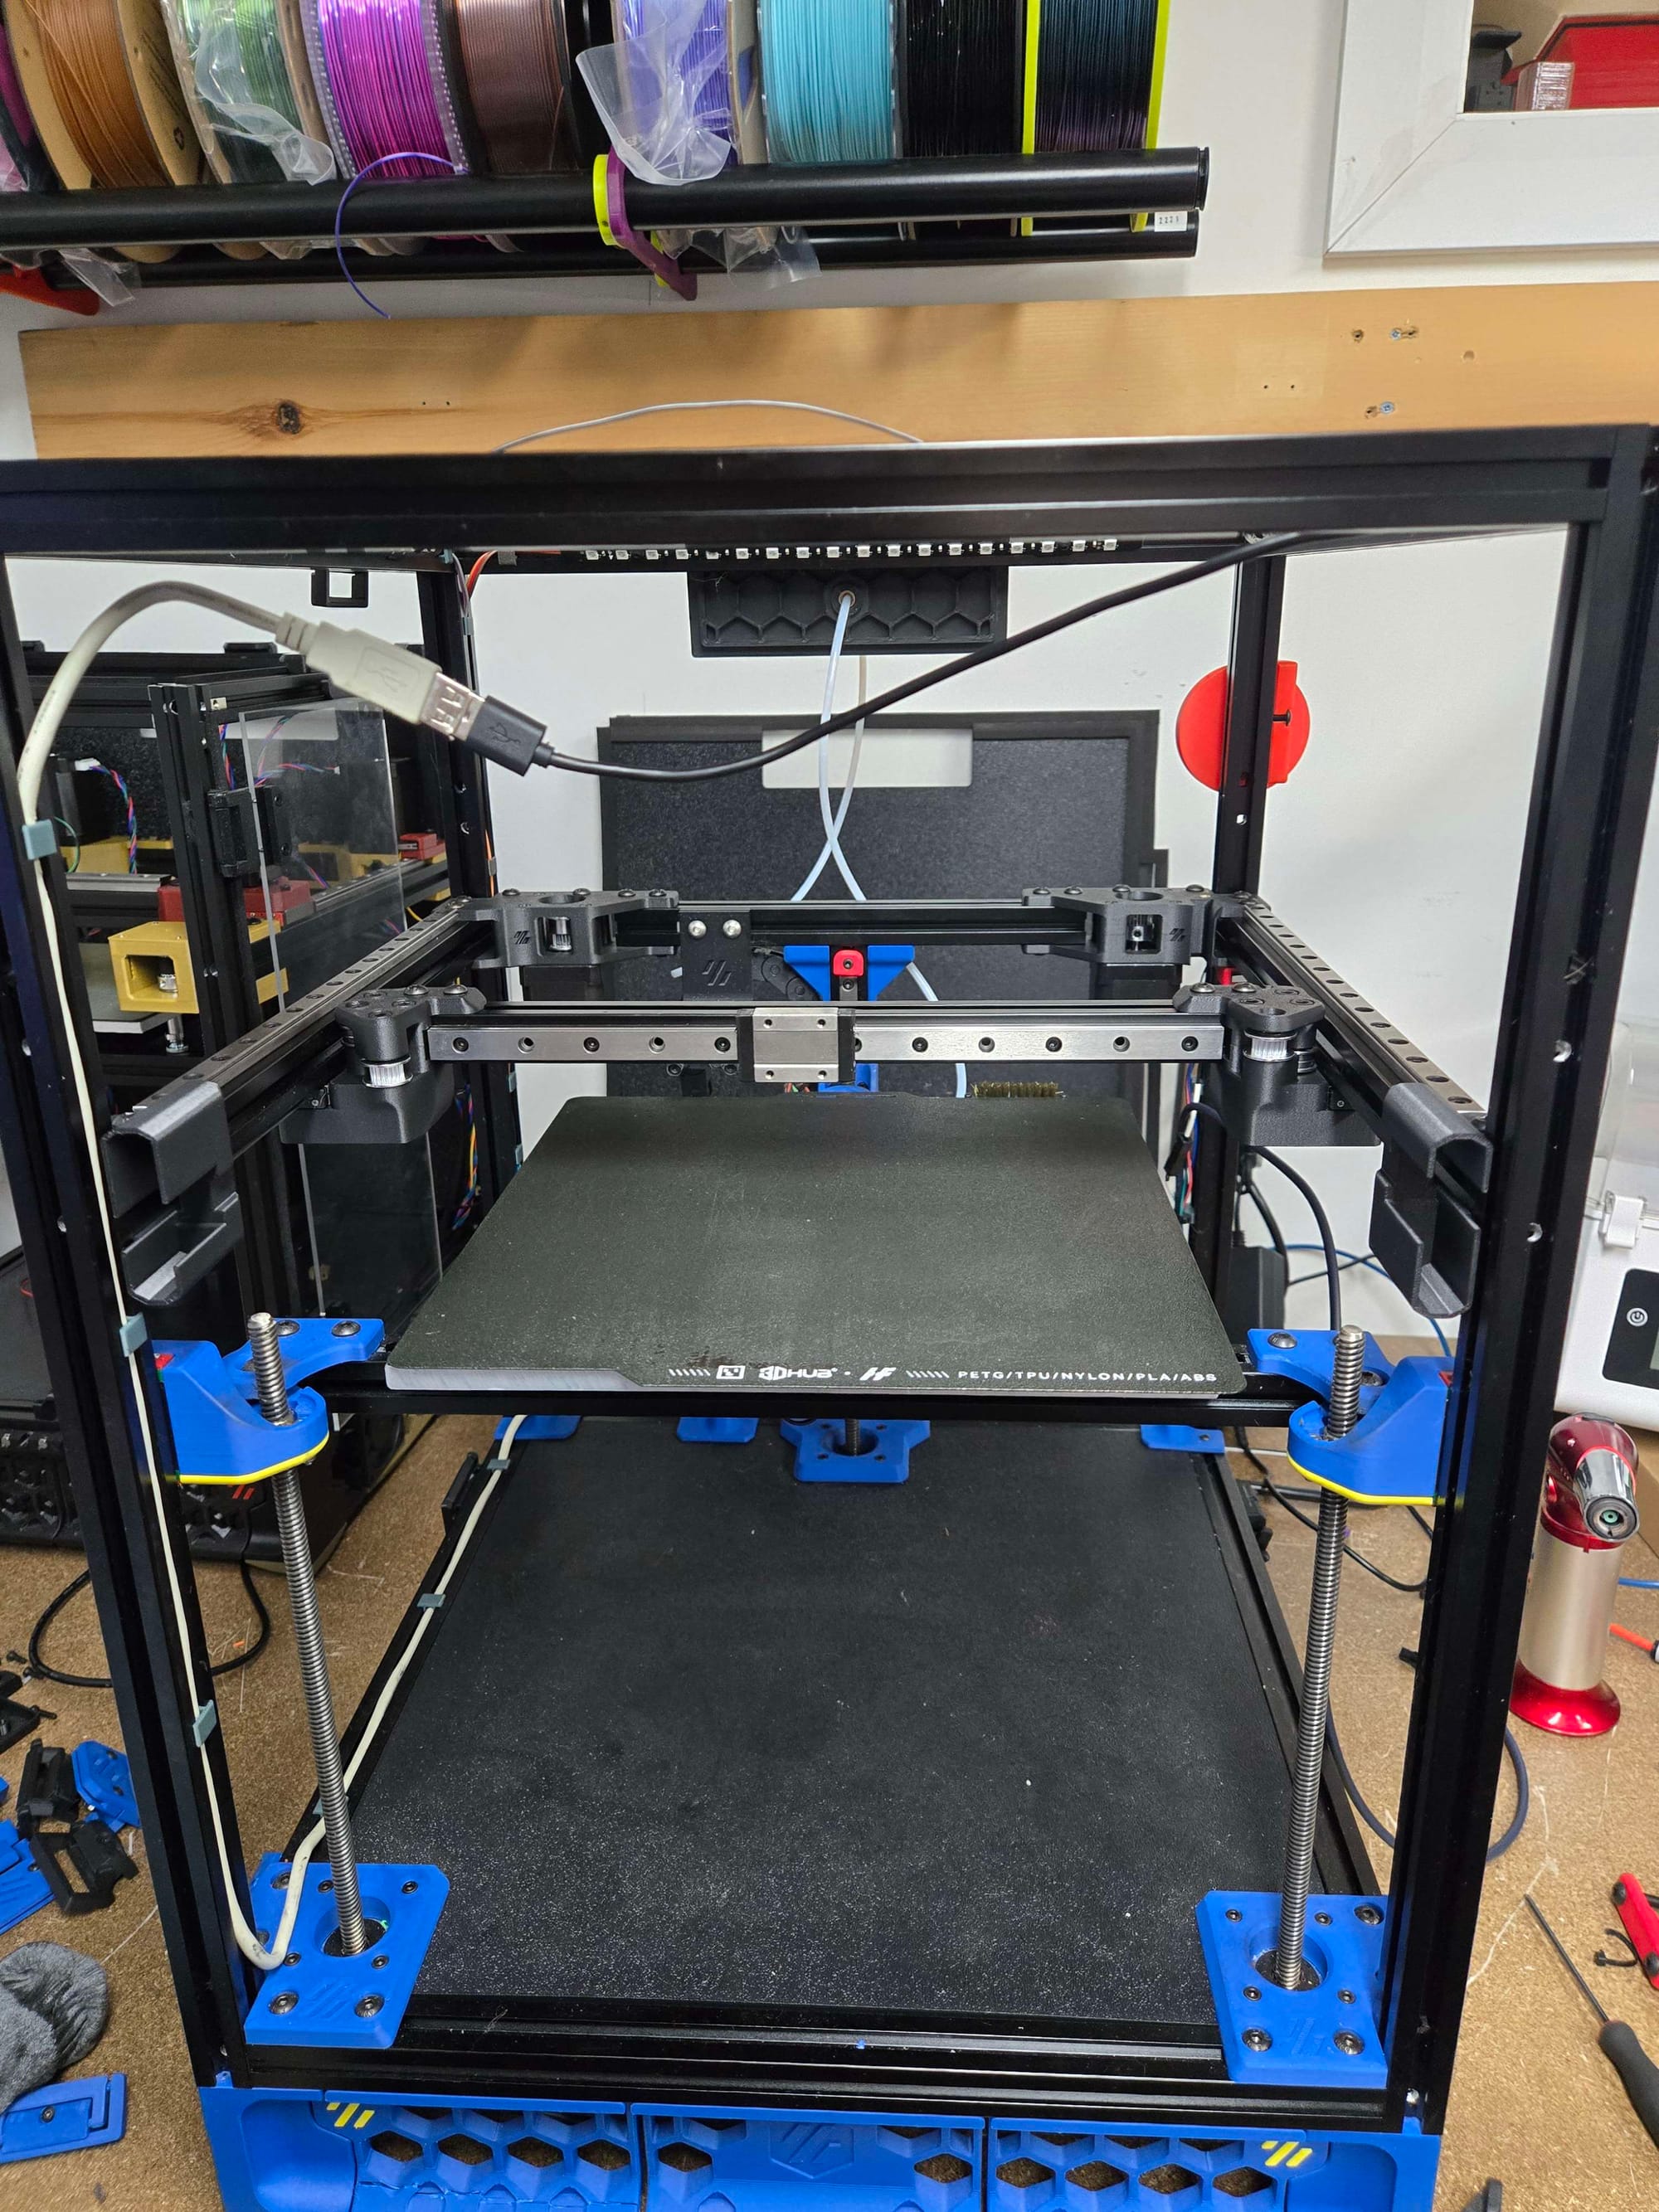
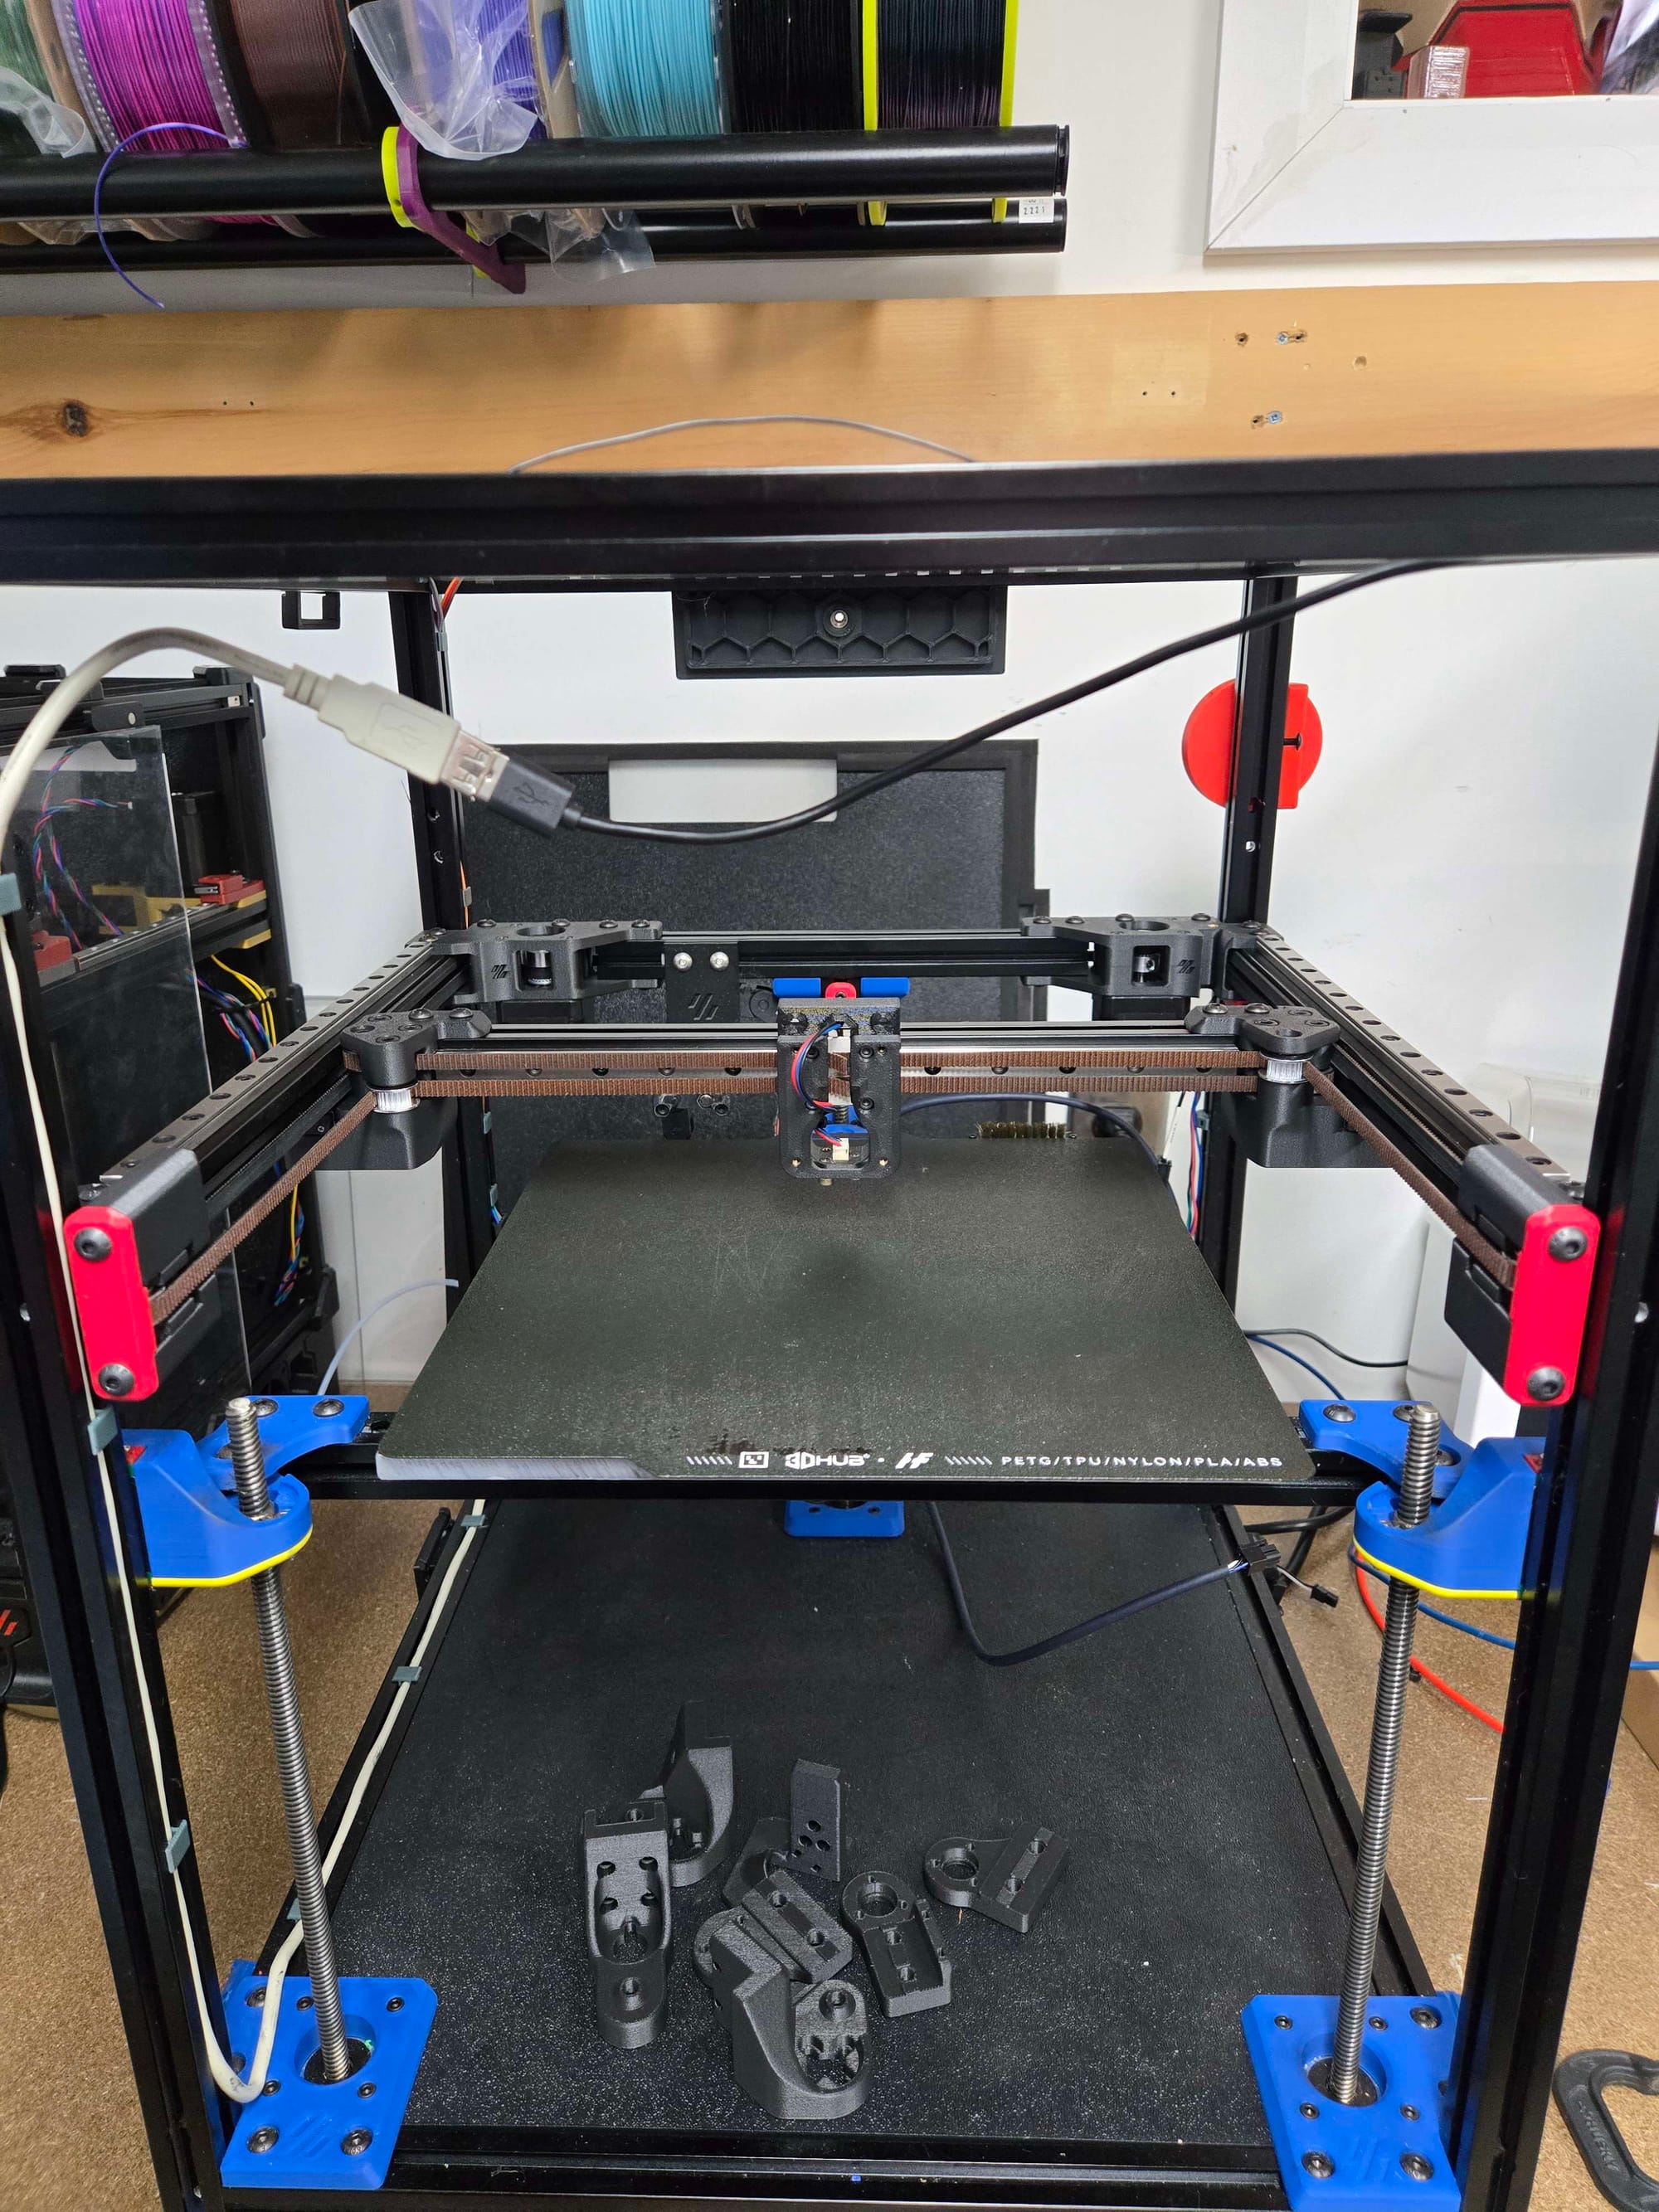
I followed up with the Z Axis.
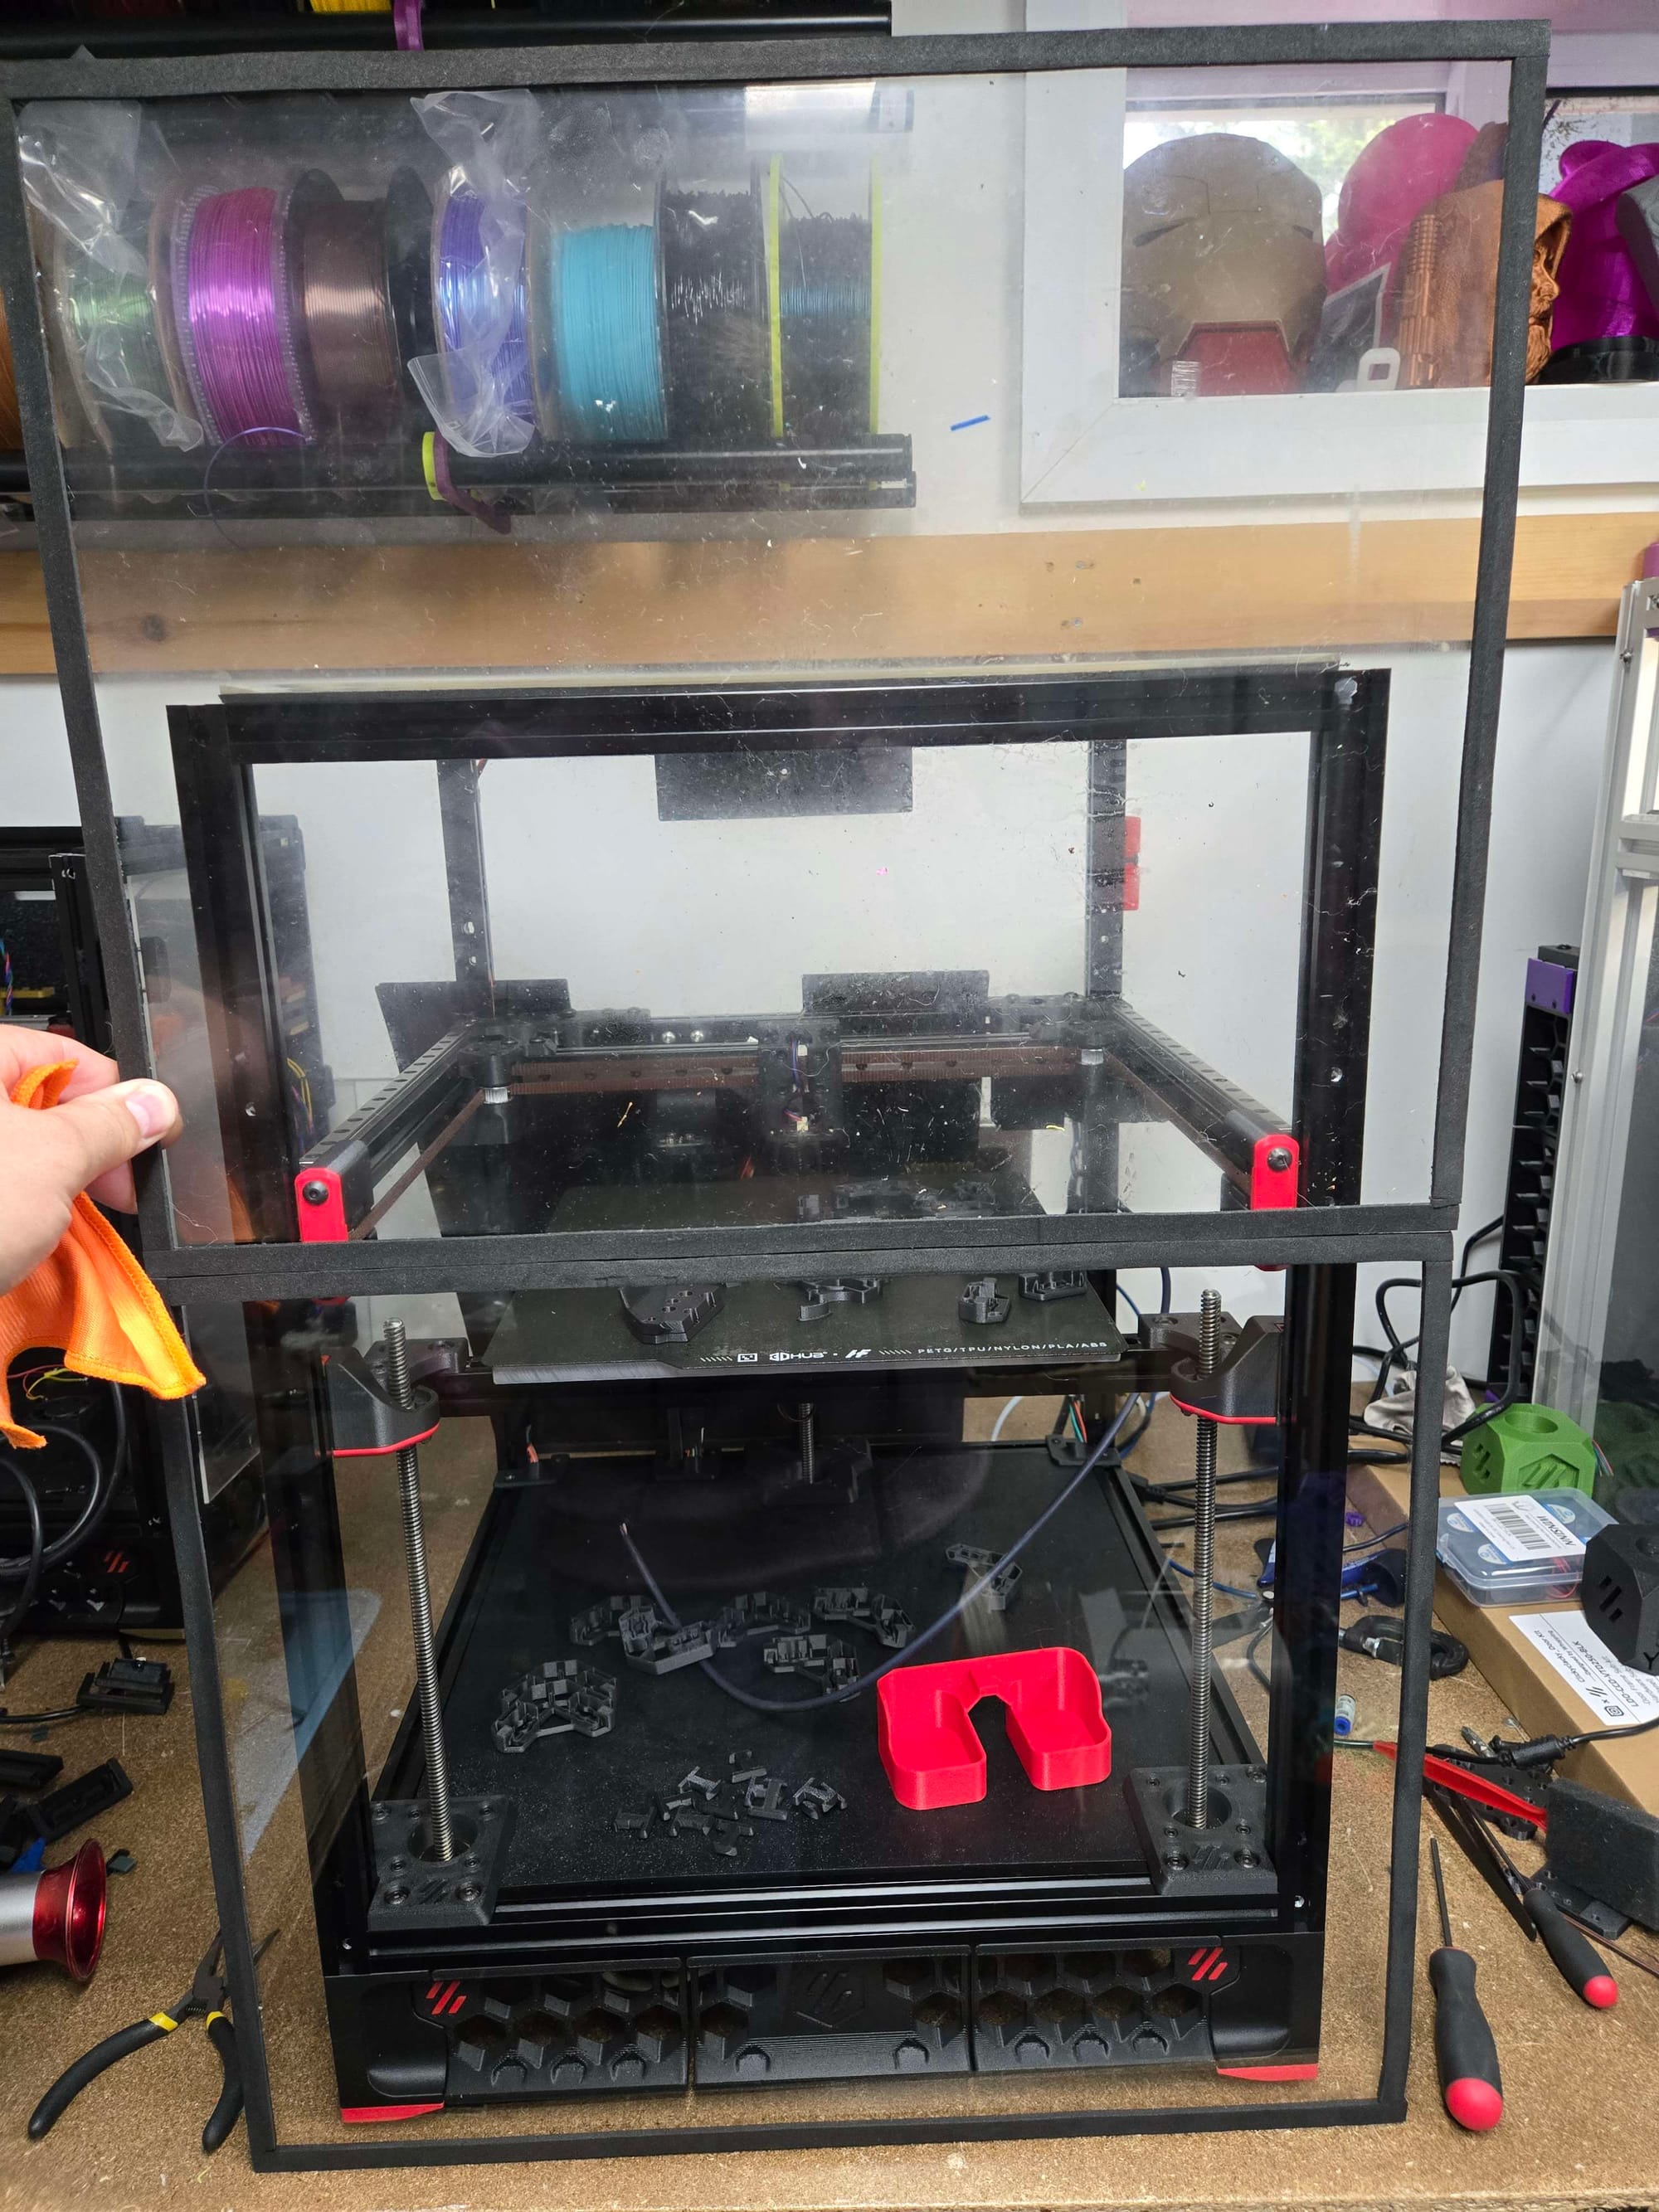
Week 2: Frame Skirts and Panels
I cheated a bit and for the bottom skirts I used PLA-CF instead of ASA-CF so I could keep my ASA-CF for future prints. The temperature resistance isn't necessary here, but I have found the skirts can be a bit weak in the past so I went ahead and used a 0.8mm nozzle for some beefy layers.

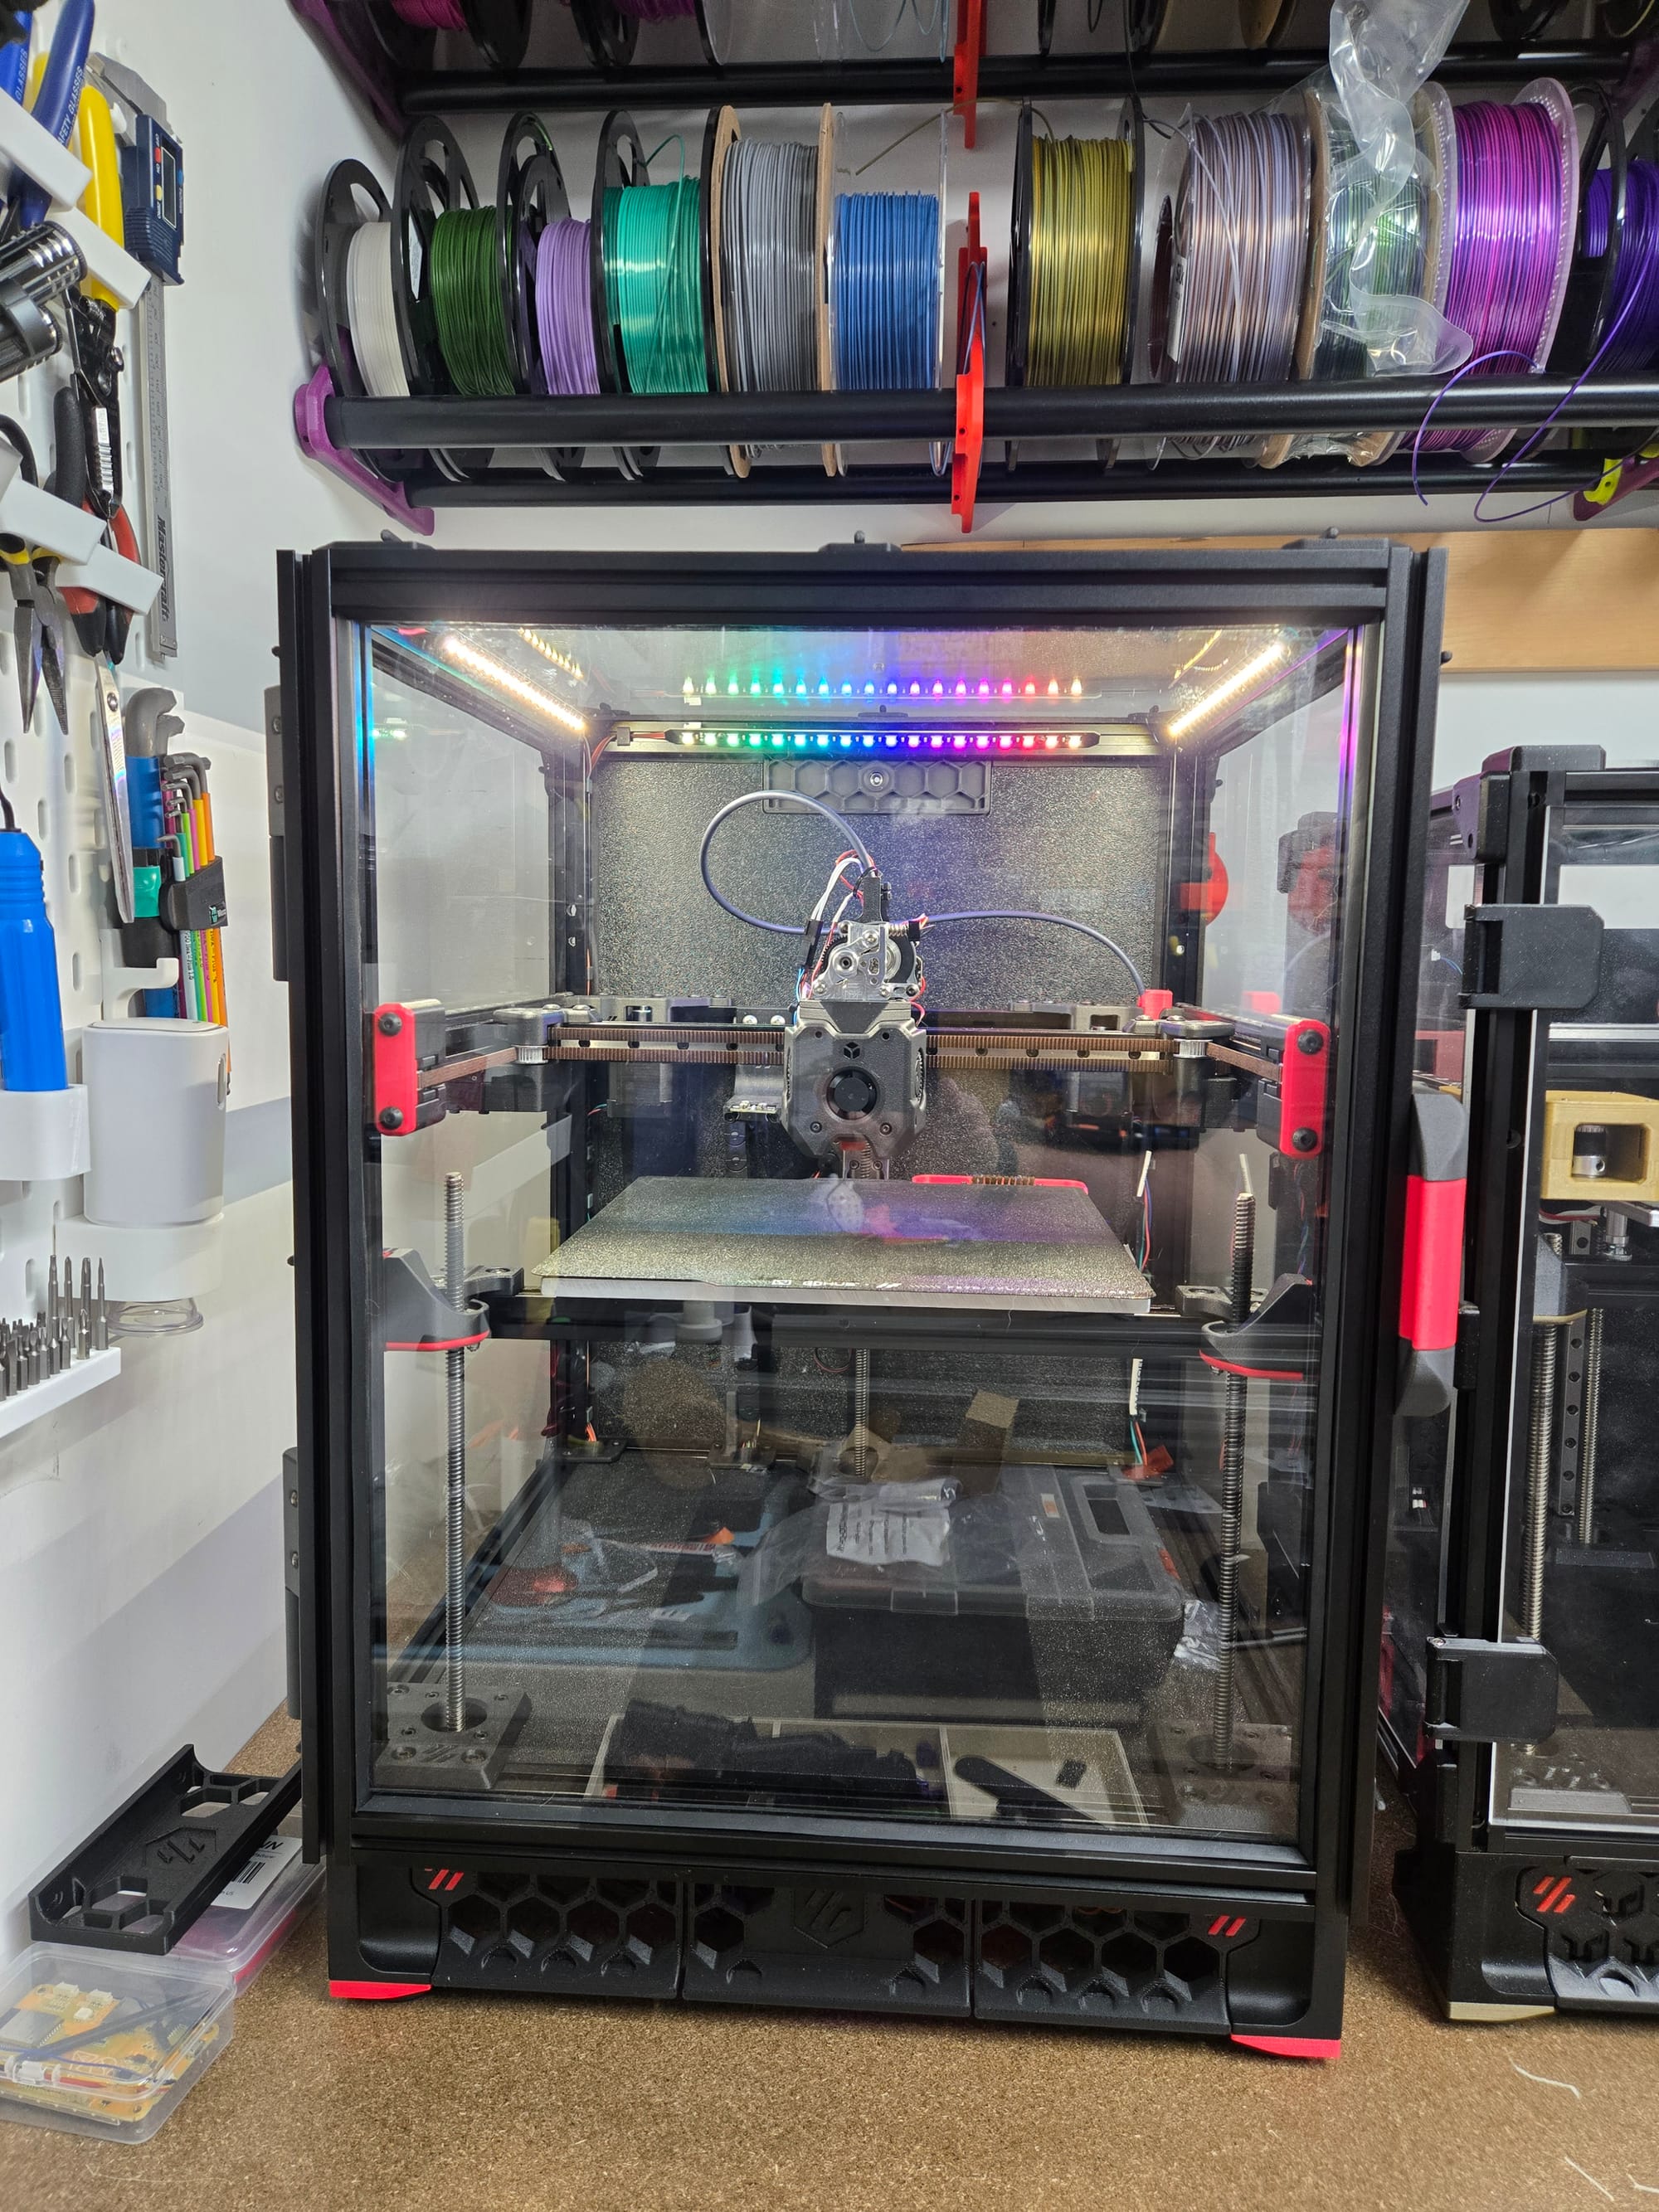
I went with the Annex Engineering Panels Clips and Corners because I have found they work well for holding the panels on tightly, as well as being tool-less for removal and you get to save some T-Nuts.
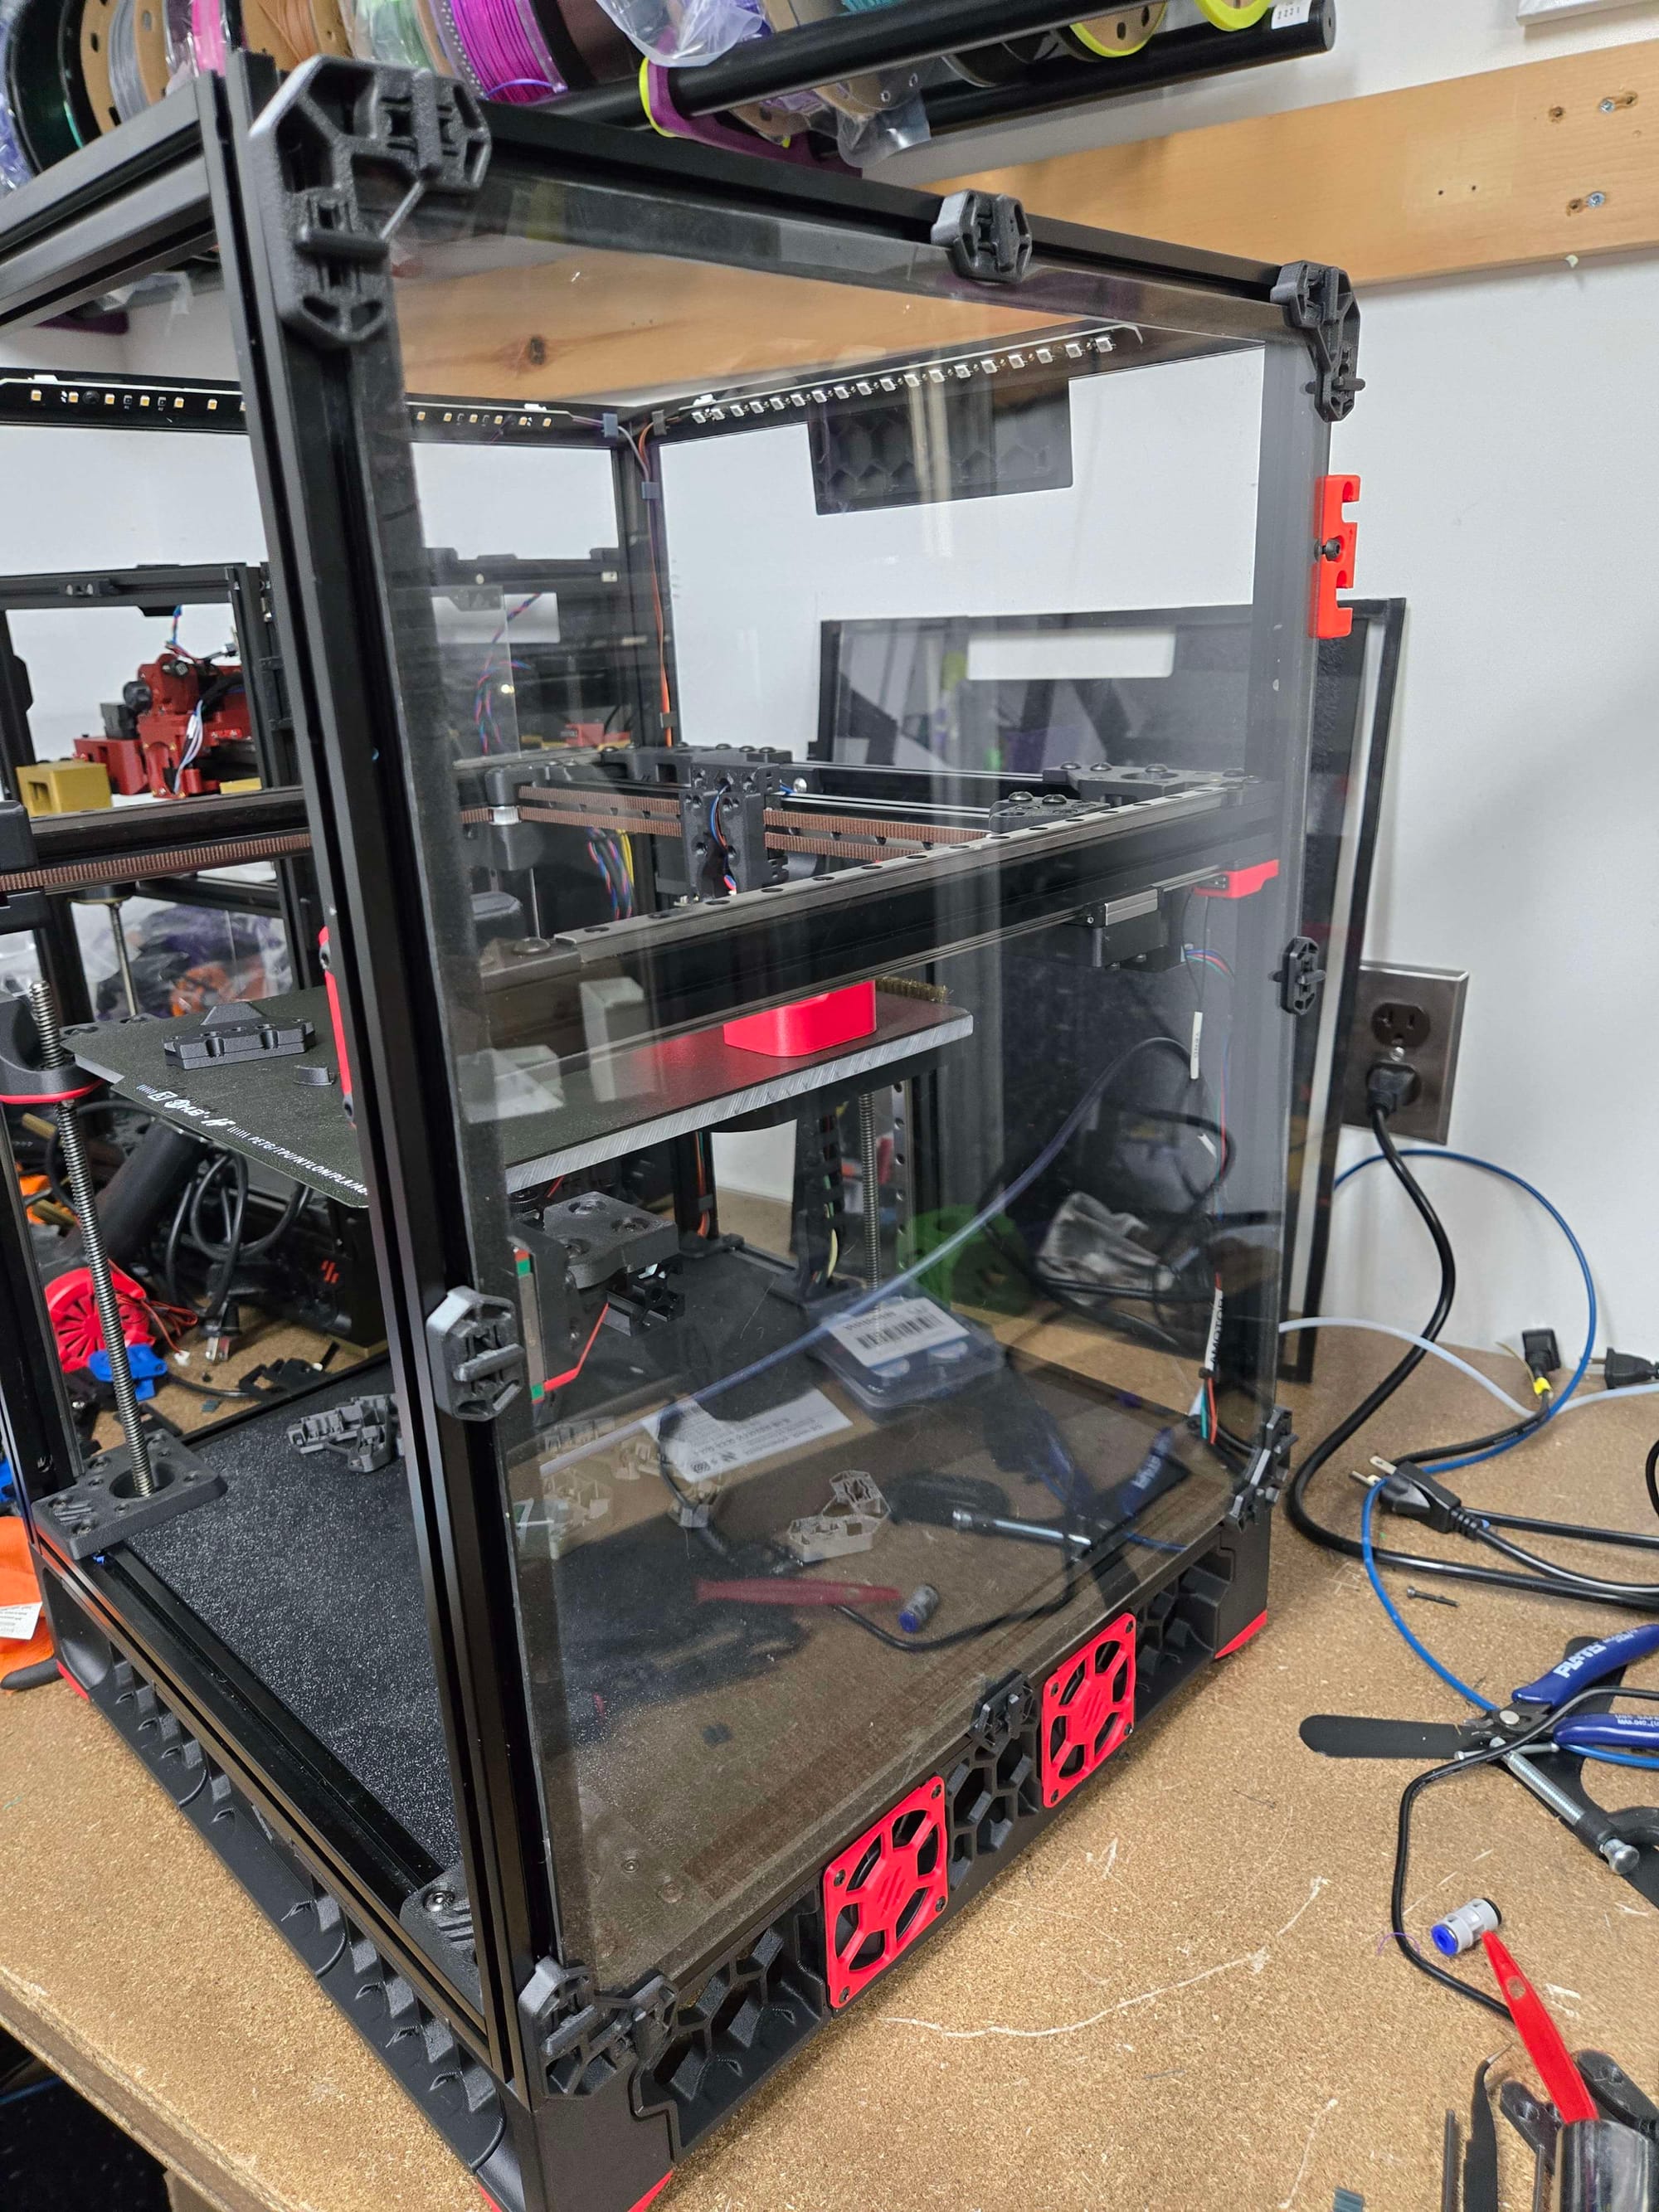
One really satisfying parts of the rebuild was cleaning the dirty acrylic panels. I used some phone screen cleaner I had one hand with a microfibre cloth and some elbow grease to get all the residue off. I tested the cleaner in a corner just to make sure there were not adverse affects prior to doing the full cleaning.
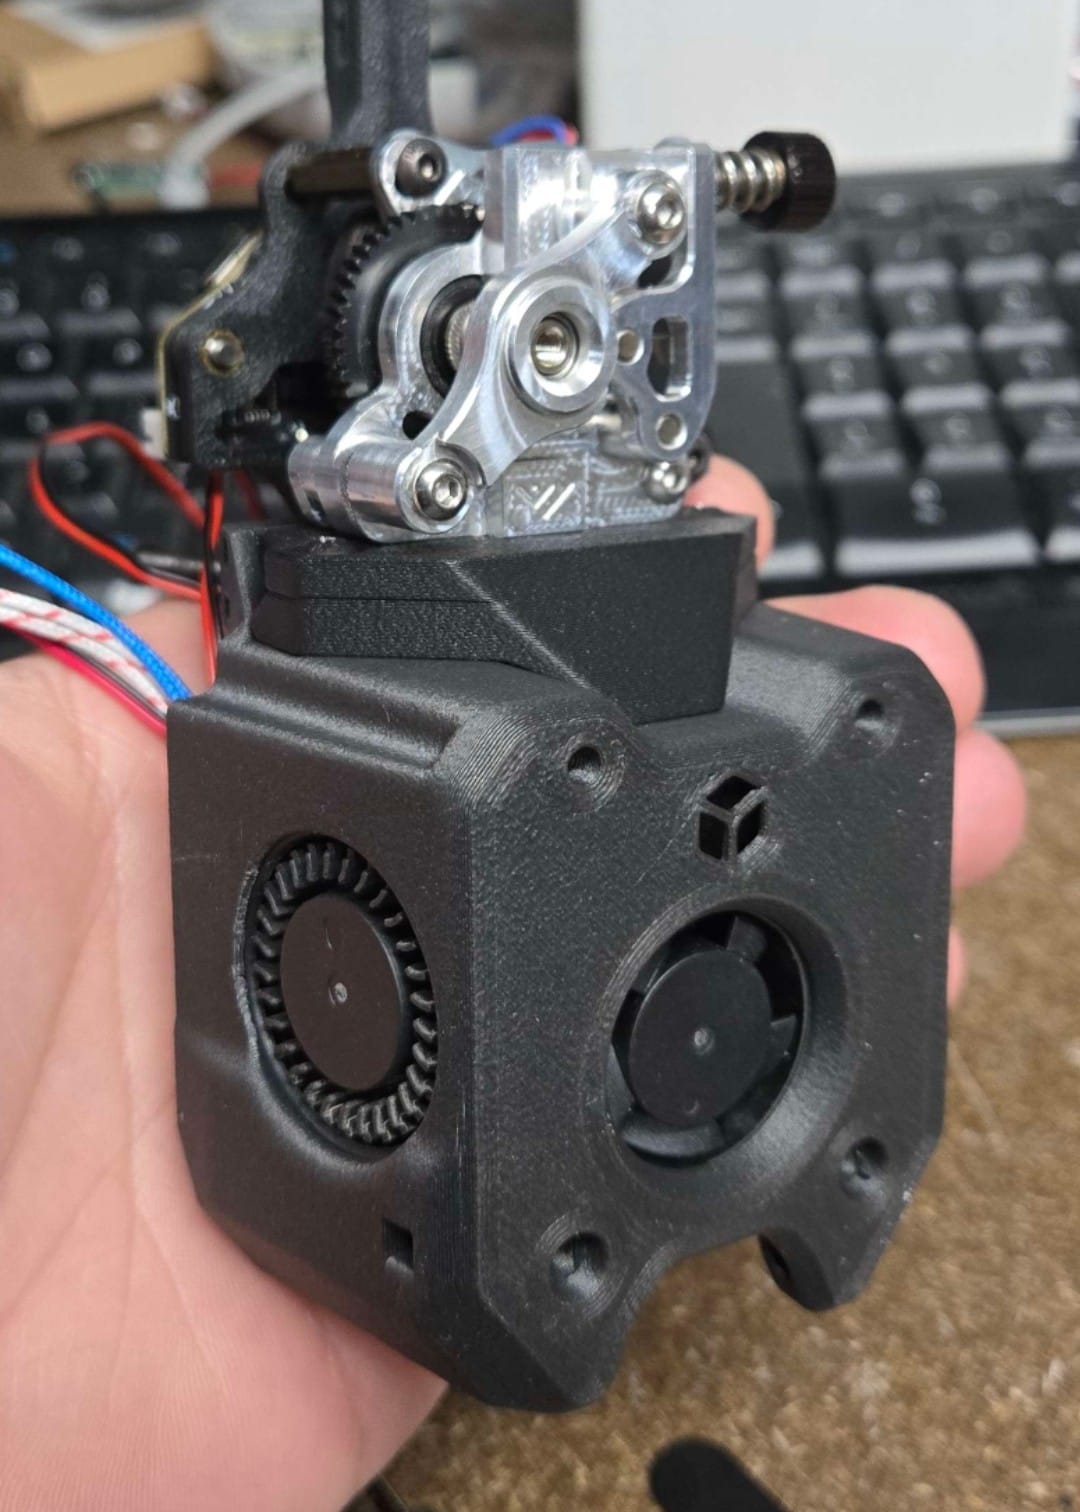
Week 3: Toolhead Assembly
Replaced the entire toolhead with the A4T toolhead. I was pleasantly surprised with the design and nicely all the components went together.
Week 4: Miscellaneous
Finished with cable management components and smaller brackets, as well as installing the Clicky-Clack Fridge Door.
Results That Exceeded Expectations
Print Quality Improvement: Everything feels very solid and the cooling appears to be an improvement as well.
Visual Appeal: Updating to the red and black color scheme felt like it was going back to the classic Voron colours but with a nice matte and ever so slightly fuzzy skin from the Carbon Fibre and Glass Fibre infused in the filaments.
Confidence Factor: I know every component is built to handle whatever I throw at it again with a fresh rebuild.
Should You Rebuild Your Voron?
Definitely consider it if:
- Your printer is 3+ years old
- You're experiencing print quality issues or part failures
- You want to refresh the aesthetics
- You enjoy the building process as much as the printing
Maybe wait if:
- Your current setup is printing perfectly
- You used quality ABS/ASA in your original build
- You're planning a major upgrade (like switching to Stealthburner)
Lessons Learned
Take Photos: Document everything before disassembly. Your future self will thank you.
Quality Over Speed: Don't rush the rebuild. Each part deserves the same attention you gave the original build.
Modern BOM: Check the latest Voron specifications – some designs have been updated since your build.
Material Investment: Premium filaments cost more upfront but the performance and longevity gains might be worth it and the advanced materials are more accessible these days.
The Bigger Picture
This rebuild reminded me why I love the Voron platform. The modular design makes incremental upgrades not just possible, but enjoyable. I felt like I was doing a restoration on an old tool or car to a certain extent.
For those COVID-era builders reading this: your Voron served you well during uncertain times, and with some modern materials and a weekend or a few weeks of work, it can serve you even better for years to come.
The rebuild process was honestly as satisfying as the original build, with the added benefit of experience and better material choices. If you're on the fence about refreshing your aging Voron, take the plunge – you might be surprised how much you enjoy the process.
Planning your own Voron rebuild? Share your experience in the comments below! We'd love to hear about your material choices and what improvements you noticed.
Have questions about specific upgrade paths or material recommendations? Drop them below – we're here to help fellow Voron builders succeed.